Warmup
Detecting people and objects in a scene sequence is really tough. With AI, we have an opportunity to speed up this kind of work.
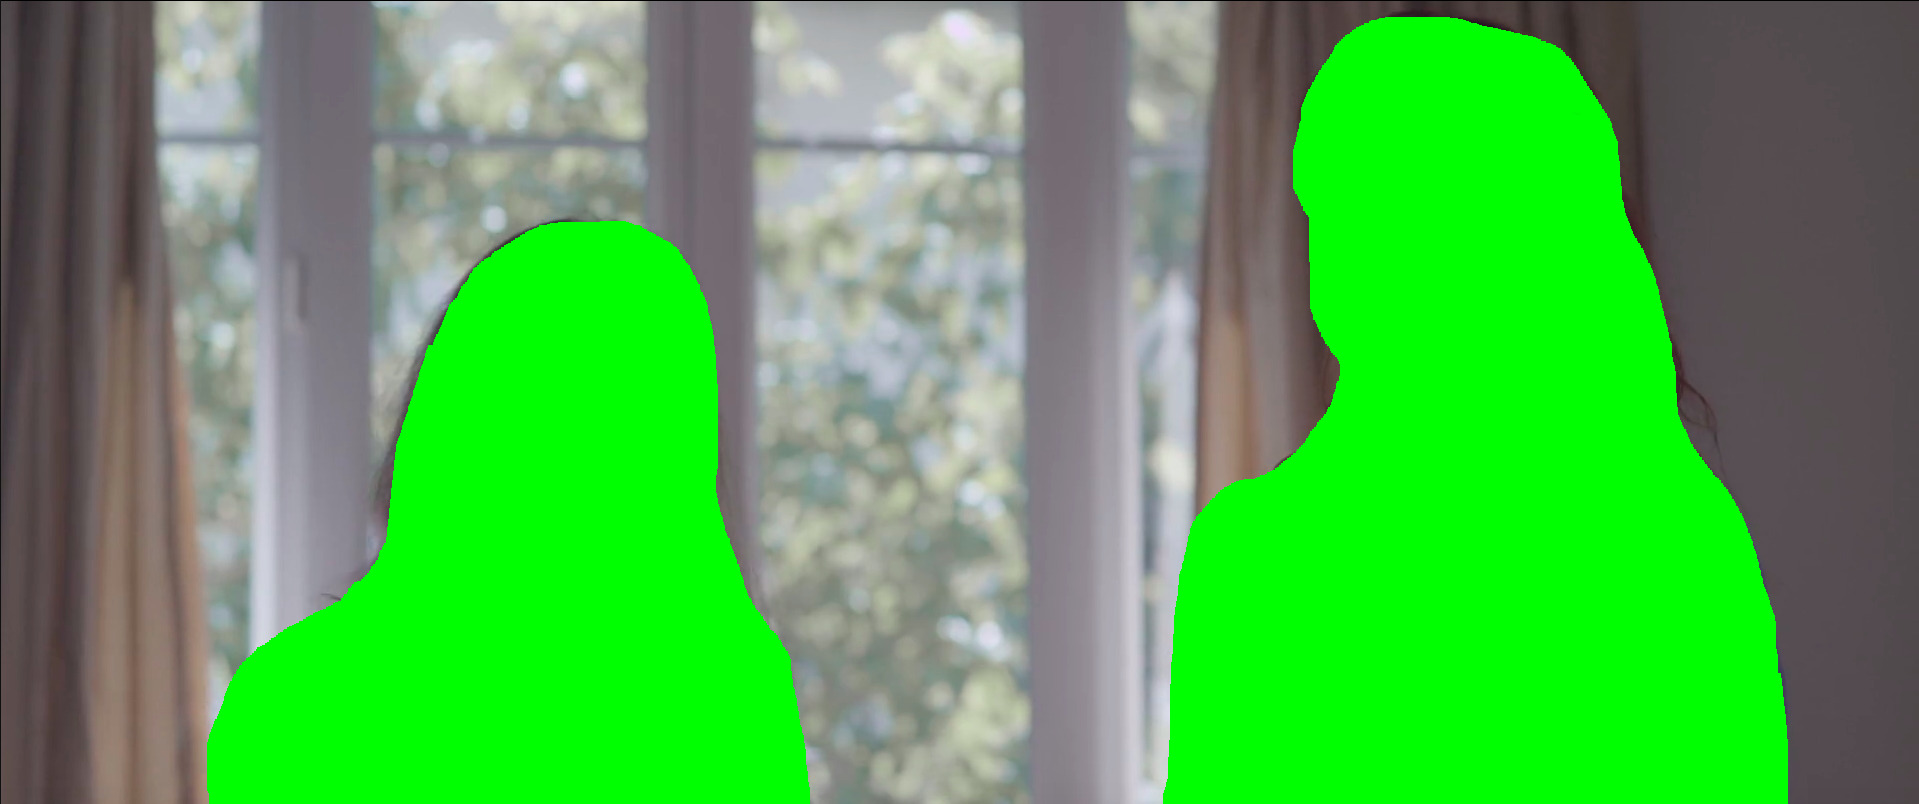
Below, this is a scene from the movie "George" directed by David Coudyser and where I am the co-producer with David:
On this scene, we need to outline each actor in every frame. It will be painful to do that manually to have this :
Most tools and software already feature this kind of selector. For most of them, they use complex algorithms to performs this
Here, we don't have to do that, we just need to "describe" what we want to track, like an "actor" or a "boom".
Using AI in this context could be very helpful.
For a prototype, we will use OpenCV (for the video and frame management) and particularly the YOLO model from Ultralytics, we can outline each described element (eg. objects, people, animals) as follows; Here we track a "person" :
This is a sample output from our program below, it is not perfect - we need to customize some values and parameters (confiance, new_track_thresh, etc.), but we have a good first step for the next stages.
The source code
First at all, we need to install opencv library and ultralytics library :
And this is the source code using OpenCV for the video/frame part and Ultralytics / YOLO for the AI part
This code follows this steps :
- Read the input video file
- Read each frame
- Feed them into the AI model
- Get the results which are all detected "objects"
- Draw a polygon around each "object"
- Finally, write the output video file including the polygons
Let's take a look at part of the source code!
You will study some important parts on this source code starting with the YOLO's function model.track :
YOLO is the main class that it loads our model and returns a handler (here model). You can use directly model(content) but you won't get tracking information - only detection data.
Don't worry about the model file yolov8n-seg.pt, the YOLO library will download automatically the selected model. Note that's important to use the 'seg' model. The file size of this model is only few Megabytes.
For our use case, we use the track function :
frame in track is the source of the data: our frame data. Here, we store the buffer of the frame previously fetched by the OpenCV read function :
track function returns a complete data structure which contains boxes and masks arrays (and many other values and methods)
Normally, results stores each frame. Here, OpenCV reads a frame and feeds it to the track function. In this case, the results stores only one frame.
All we need is in the arrays in the results such as .boxes and .masks :
Each array follows a rule: indexes are linked between arrays :
Which we can translate as :
| Object ID | Object Type | Confiance |
|---|---|---|
| 1 | 0 (person) | 0.8144 |
| 2 | 0 (person) | 0.8274 |
So, if we need to work with each detected "object", we can do that :
With this code, the output will contain everything we need :
tracker.yml
The configuration file isn't mandatory with YOLO. We use it only to optimize some part of the detection and processing. Parameters and descriptions are available here.
This configuration is based on the original configuration file available here.
Using YOLO without OpenCV ?
Yes, that's possible: remember, track function requires a source. In the previous example, our source is the frame content but the source can also be a video directly. In this case, the variable results store each frame of the video :
The output of this program will be :
As you can see, we have a full access to the data frame via the orig_img variable, as well as to the .boxes and .mask variables. Therefore, the "rule of indexing" is the same as those seen in the previous chapter.
So, you have two different methods to do the same thing :
- Read the frame via OpenCV, process the tracking via YOLO, and then the draw polygons via OpenCV,
- Read the frame via YOLO, process the tracking via YOLO, and draw the polygons using another library (or your own method)
- (plot twist with the 3rd method) Read the frame using another video management library (such as ffmpeg), process the tracking via YOLO, etc.
Conclusion
As I said, this code isn't perfect (and yes, it's even a bit ugly). As you probably saw in the sample output video, some people are not detected in a few frames. It's mainly a prototype, a first draft. Therefore, it's normal to have this kind of issue at this stage.
To improve the processing, we could investigate technical options such as :
- First at all, we use the v8 YOLO model, Ultralytics has released newer models. We probably need to use a fewer version;
- Second, we need to adjust some parameters to improve the detection (see the tracker configuration).
- And finally, to boost performance, you also can "train" one of the YOLO models to increase the model's accuracy.
Using YOLO here is just an example. Many other models exist and work well too and are available in the Hugging Face Hub :
In its current state, with few modifications, the code inside of the program above could be used as a first step in organizing your daily rushes (dailies). (but we need to remove some unnecessary code for this case, such as the masks and the writing process and we only need to get the name of the "object" detected (class) for the classification).
Footnotes
- For archives: app_with_opencv.py, app_without_opencv.py, app.yolo.tracker.yml, yolov8n-seg.pt
- The Ultralytics website contains many new models you can use. Here, we use only the v8.
- Track() function documentation needed to track each object with an ID.
- Tracker file documentation and all informations about each parameters available to optimize detection and process.
- The github repository for ultralytics source code.
- If necessary, this is the direct link to yolov8n-seg.pt model file published by Ultralytics and stored into github repository.
- Hugging Face Hub: Image segmentation models, Object detection models, Keypoint detection models
A And some now use AI models as well.